01 — INSTALL MAPFLOW
Add MapFlow to Your Framer Project
Open the private component-access page delivered after purchase and copy MapFlow into the Framer project where you want to use it.
Steps
1
Open the private MapFlow component-access page.
2
Copy the component.
3
Open your Framer project.
4
Paste MapFlow using Command + V or Control + V.
5
Move the component into the required page section.
6
Resize it using Framer’s width and height controls.
Important
Do not publicly share the private component-access link.
02 — CONNECT GOOGLE MAPS
Create and Add Your Google Maps API Key
MapFlow requires your own Google Maps API key to display the static Framer canvas preview and the complete interactive published map.
Property Path :-
API Key
Instructions
1
Open Google Cloud Console.
2
Create a new Google Cloud project or select an existing project.
3
Enable billing for the project.
4
Open the API Library.
5
Enable Maps JavaScript API.
6
Enable Maps Static API.
7
Open Credentials and create an API key.
8
Restrict the key to the required websites and Google Maps APIs.
10
Select MapFlow in Framer and paste the key into API Key.
Recommended website restrictions
•
Your Framer preview domain
•
Your published Framer website domain
•
Any custom domain connected to the website
Recommended API restrictions
•
Maps JavaScript API
•
Maps Static API

Important
Never publish an unrestricted Google Maps API key.
03 — Understand Canvas and Preview
Understand the Static Canvas Preview
The Framer canvas displays a simplified static map image. Framer Preview and the published website display the complete interactive MapFlow experience.
The canvas can show
•
Primary Location coordinates
•
Standard marker coordinates
•
Filter Box marker coordinates
•
Map centre and zoom
•
Road Map, Satellite or Terrain preview
•
Simplified Google map pins
The canvas does not show
•
Exact custom marker images
•
Filter Box panel
•
Marker hover effects
•
Active marker states
•
Popups
•
Marker clustering
•
Map dragging
•
Interactive map controls
•
Map ID cloud styling
Framer Interactive Preview
•
Framer Interactive Preview will show nothing because for API Restrictions, so always check your preview in live url.
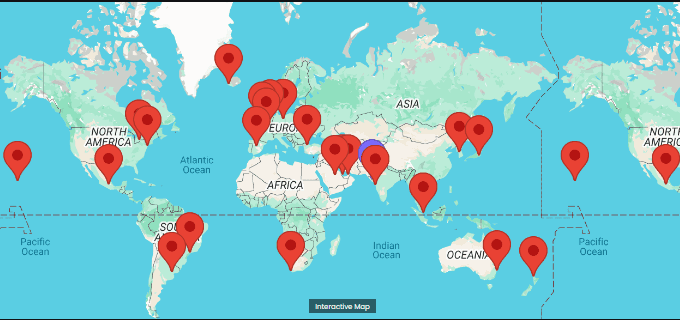
Framer Canvas Preview

Live URL Preview
Important
Always test custom markers and interactions in on the published website.
04 — Add a Map ID When Needed
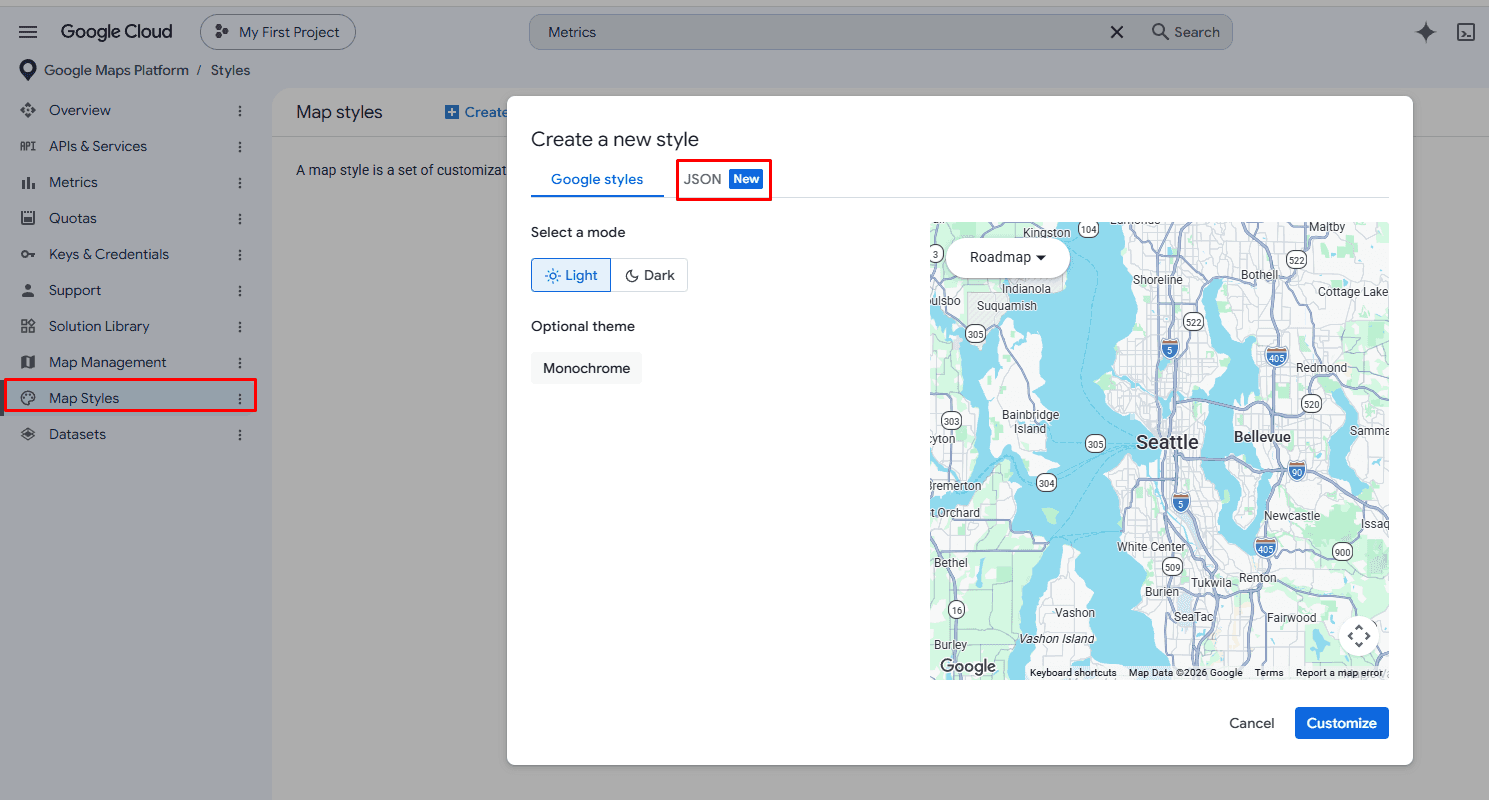
A Map ID is optional for a basic map.
Add one when you need Advanced Marker hover effects, built-in standard-marker Hover Color, custom Primary Location images or Google cloud map styling.
Important
When a Map ID is added, the interactive map uses the Google Cloud style linked to that Map ID. This overrides MapFlow presets and Custom JSON, so any custom map styling must be added and published through Google Cloud. Otherwise, the map will use Google’s default styling.
05 — Understand the Property Panel
Use MapFlow’s Grouped Controls
MapFlow groups related properties inside edit panels so the main Framer property panel remains organised.
Top-level controls
•
API Key
•
Map ID
•
Center Lat
•
Center Lng
•
Zoom
•
Auto Fit
•
Markers
•
Categories
Grouped controls
•
Primary Location
•
Filter Box Panel
•
Clustering
•
Map Styling
•
Interactions
•
Appearance
•
Panel Title Font
•
Panel Desc Font
•
Popup Typography
•
Auto Distance
Array structure
•
Markers :- Add Item , Configure marker
•
Categories :- Add Item , Configure category , Locations , Add Item


